

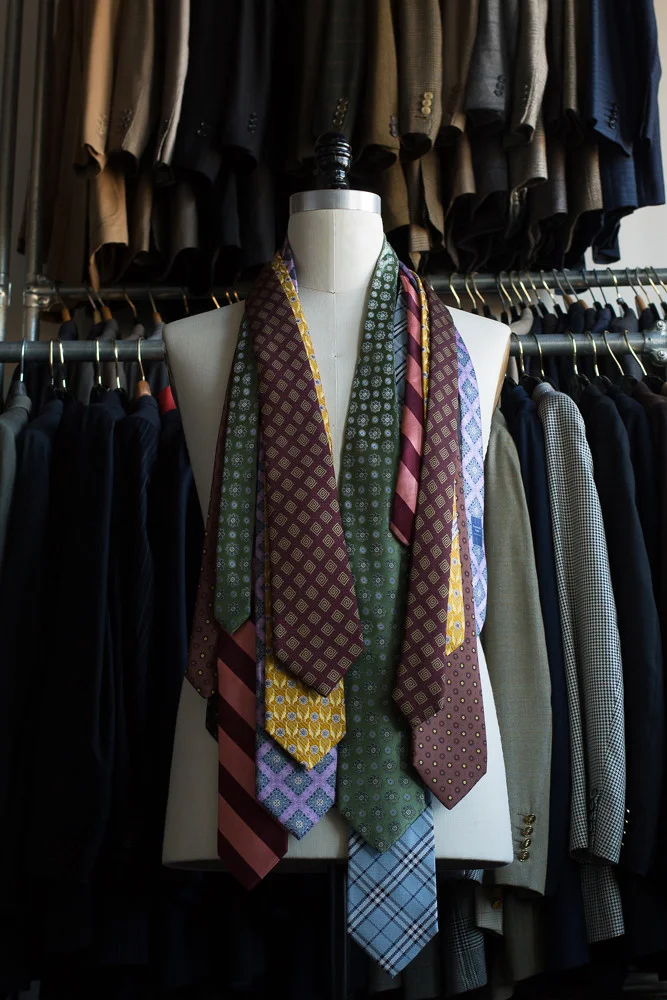
 Photo par Menswear Market via Flickr (CC BY 2.0)
Four knots cover every situation, from the office to a wedding. Everything else is variation. Tying a tie well comes down to two things: picking a knot that suits the width of your shirt collar, and finishing with the tip landing right at the belt buckle. Here are the methods that actually work.
The four-in-hand, the everyday knot
The simplest and most common. It produces a slightly asymmetric, elongated knot that sits well under a classic or button-down collar. Good for daily wear and for thick ties in wool or knit, which quickly build too much bulk with other methods.
Drape the tie around the neck, seam facing in, the wide end on the right and clearly longer than the narrow end (around 30 cm of difference for a standard length).
- Cross the wide end over the narrow one.
- Pass the wide end underneath, then over again to form a horizontal loop.
- Bring the wide end up through the neck loop from inside.
- Slide it down through the front loop you just made, then pull down.
- Hold the narrow end and slide the knot up to the collar.
The four-in-hand stays slim, which makes it go anywhere. Its slight imbalance is part of its charm and counts as no flaw.
The half-Windsor, the balance
More symmetrical and a touch bulkier, the half-Windsor suits most collars, including semi-spread ones. This is the knot to favour if you only learn one for work and interviews.
- Wide end over the narrow one, then pass it underneath and bring it out through the top, by the neck.
- Bring the wide end back down and wrap it round the right side, towards the back.
- Bring it to the front, then up through the neck loop again.
- Slide it through the front loop and tighten upward to the collar.
The result is a clean triangle, neither thin nor heavy. On a white shirt with a navy suit, it is the safe choice.
The Windsor, for big occasions
Wide, thick and perfectly symmetrical, the Windsor (or double Windsor) needs an Italian or cutaway collar, open enough to hold its volume. On a narrow collar it spills out and shortens the silhouette. Keep it for ceremonies, weddings and very formal outfits.
Its build follows the half-Windsor but doubles the wrap on each side, which creates the signature mass. Use a long tie: the Windsor eats more fabric, and a standard length often finishes too short on a tall man.
The simple knot (oriental), discreet and quick
The most minimal of all, sometimes called the oriental knot. Few turns, low volume, fast to set. It holds less well over time and tends to come loose, so avoid it for a long day. It does sit nicely with a very thick tie you want to keep slim.
Which knot for which collar
| Collar type | Recommended knot | Context |
|---|---|---|
| Classic / American | Four-in-hand | Daily, office |
| Button-down | Four-in-hand | Smart casual |
| Semi-spread | Half-Windsor | Work, interviews |
| Italian / cutaway | Windsor | Ceremonies, weddings |
The rule reads the other way too: a very open collar looks empty with a thin knot, a closed collar chokes under one too wide.
The mistakes that show right away
Length first. The tip of the tie should reach the middle of the belt buckle, neither above the navel nor over the fly. Adjust the starting gap between wide and narrow ends before you even tie, because that is where it all gets decided.
The dimple next, that small vertical crease under the knot. Pinch the fabric just below the knot as you tighten to form it. It adds depth and marks a tie tied with care.
One last point often missed: the narrow end should not hang below the wide one. The keeper loop stitched on the back of the tie is there for exactly that, so tuck it in. A tie that gapes at the collar or whose two ends wander ruins any suit, even a well-cut one.